|
05.04.2008
Updated 23.04.2008
Vyatta VC4 - Advanced VPN Site-to-Site Connections - Part 4 - Building the VMware Labs
- 1. VMware Lab Scenario 1
- 2. VMware Lab Scenario 2
In Part 3 we saw how our lab diagrams look like. Time to put them in practice.
First let's prepare a litlle bit VMware Server for our labs. You may like to read our VMware Server Networking Option article.
We need to add the VMNet virtual adapters.
From the VMware Server Console, click the "Host" menu, and "Virtual Network Settings". See Figure34.

Figure34: Virtual Network Settings
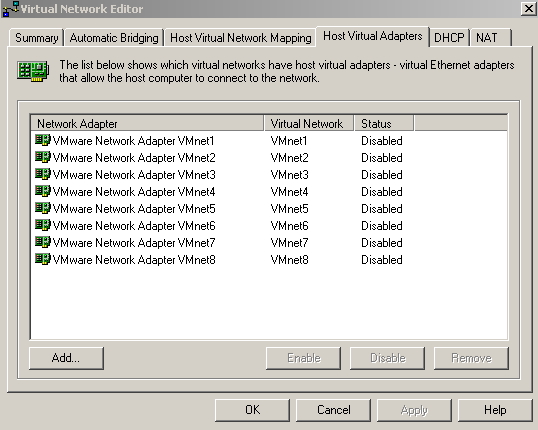
In the "Virtual Network Editor" window, "Host Virtual Adapters" tab, add VMnet2, VMnet3, VMnet4, VMnet5, VMnet6, VMnet7. See Figure35. As you can notice, they are disabled. Scroll bellow to find out why.
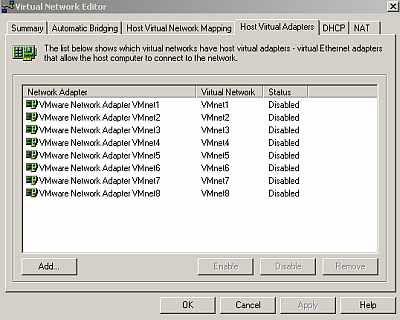
Figure35: Virtual Network Editor, Host Virtual Adapters tab
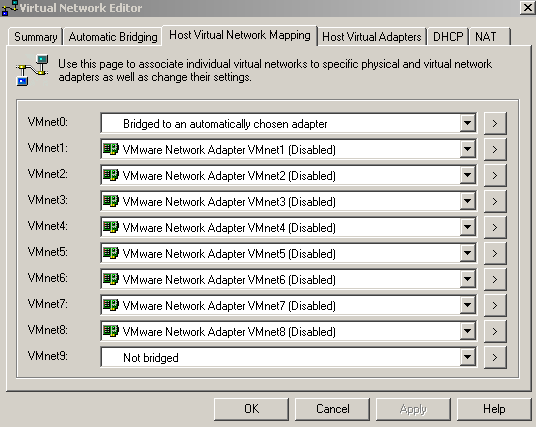
In Figure36 we can see the "Virtual Network Editor" window, "Host Virtual Network Mapping" tab. From here, by clicking the ">" button I've set the associated subnet range for every virtual network.
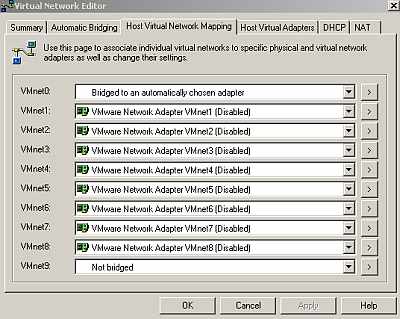
Figure36: Virtual Network Editor, Host Virtual Network Mapping tab
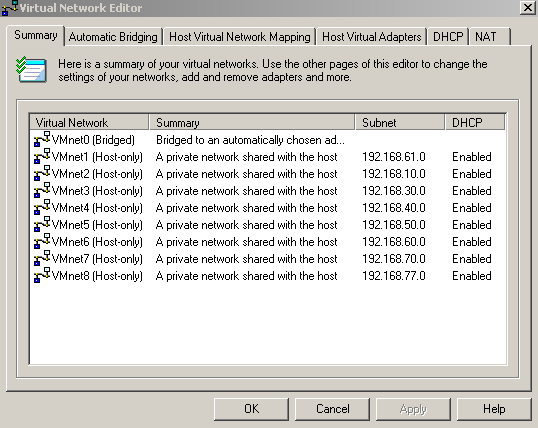
In Figure37 we can see the "Virtual Network Editor" window, "Summary" tab. Now, we can spot the above mentioned associated subnet range for every virtual network. I've let VMnet0 "bridged to an automatically chosen adapter". Actually I do have two physical adapters on my host machine(wired and wireless NICs), but I'm not particularly concerned about this fact. You may want to bridge VMnet0 to a certain physical adapter in case you have more than one physical NIC.
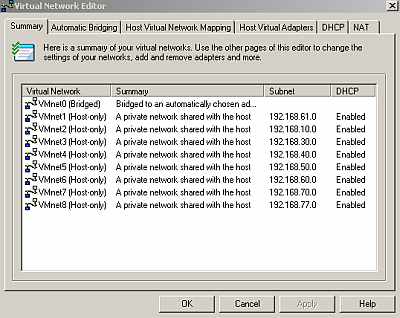
Figure37: Virtual Network Editor, Summary tab
In Figure38 we can see the NICs on the host machine (Windows XP SP2 host OS). It can be noticed that all the VMware virtual adapters are disabled. I've manually disabled them because I do not want to slow down the host machine's startup phase with unnecessary enabled VMware virtual adapters. I will enable them if I need to. Note that I've manually set the IP address on these virtual adapters before disabling them. So each VMnet adapter will use the x.x.x.250/24 IP address(say 192.168.10.250/24, 192.168.30.250/24, 192.168.40.250, .....).
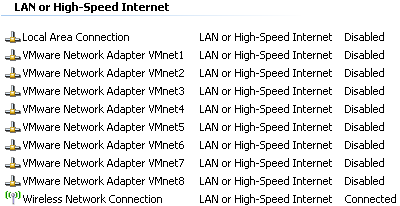
Figure38: Host Machine's NICs
Also in order to minimize the number of services automatically started on the host machine, I've disabled "VMware DHCP Service" and "VMware NAT Service" (I do not need them) and set VMware Authorization Service" and "VMware Registration Service" "Startup Type" to "Manual", so I can start them manually when I want to use VMware Server. Also "VMware Virtual Mount Manager Extended" service was set to "Manual" "Startup Type". According to this VMware document, "VMware Virtual Mount Manager Extended" service is used by VM Importer 1.x, DiskMount 3 (GSX), and DiskMount 5.5 (Workstation), and if you do not use these VMware products you can ignore it.
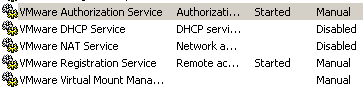
Figure39: VMware Server Services
1. VMware Lab Scenario 1
Figure40 shows the NICs for every Vyatta VC4 VM from Scenario 1.

Figure40: Scenario 1 Vyatta VC4 VMs' NICs
Let's create the Vyatta ISP machine as an example.
From the VMware Server Console, click the "File" menu, and "New > Virtual Machine". See Figure41.
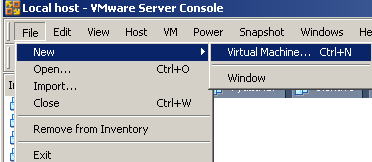
Figure41: New Virtual Machine
And the "New Virtual Machine Wizard" appears. See Figure42. Click "Next".
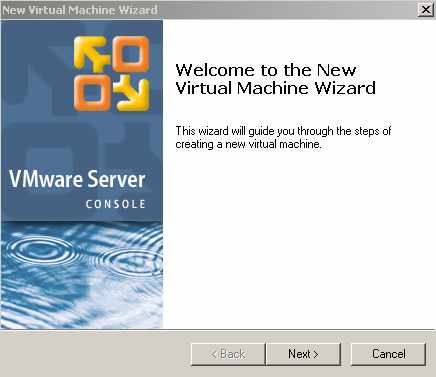
Figure42: New Virtual Machine Wizard
Select "Typical" for the "Virtual machine configuration". See Figure43. Click "Next".
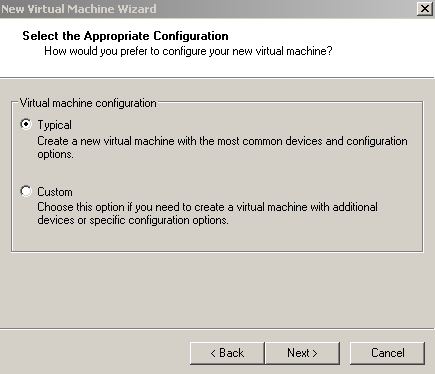
Figure43: New Virtual Machine Wizard: Typical Configuration
Select "Linux" and "Other Linux 2.6.x kernel" for the "Guest operating system". See Figure44. Click "Next ".
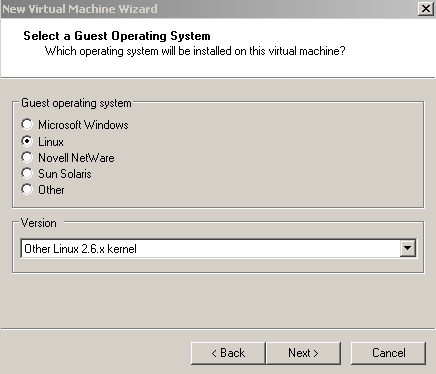
Figure44: New Virtual Machine Wizard: Guest OS
Specify the name of the VM (Vyatta ISP) and the location. See Figure45. Click "Next".
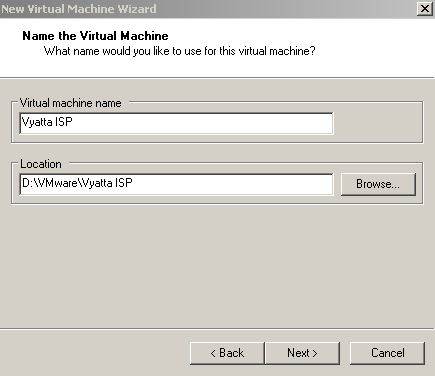
Figure45: New Virtual Machine Wizard: Name and Location of the VM
Leave "Use bridged networking" selected. Obviously this can be changed later, but we actually use "bridged networking" on the Vyatta ISP machine. See Figure46. Click "Next".
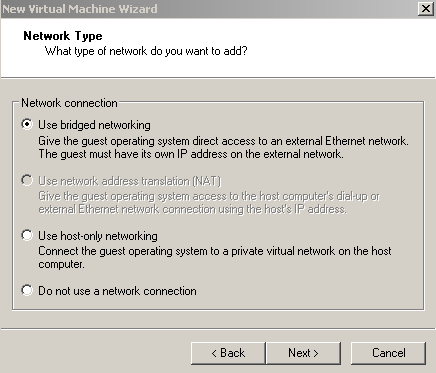
Figure46: New Virtual Machine Wizard: Network Type
I've unchecked "Allocate all disk space now " and left maximum disk capacity to 8 GB. See Figure47 . If you want more performance, you can check "Allocate all disk space now " and set the maximum disk capacity, say to 1 GB. Doing so 4 GB will be allocated from your hdd for this scenario for Vyatta VC4 VMs. And if you repeat this step for the other scenario too, you will need 8 GB of hdd space. Click "Finish".
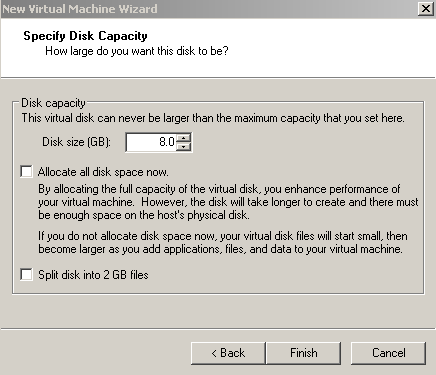
Figure47: New Virtual Machine Wizard: Disk Capacity
Next thing to do is to add another virtual NIC to the Vyatta ISP VM(as shown in Figure40 we need two NICs on it).
Right-click the Vyatta ISP VM and click "Settings". See Figure48.
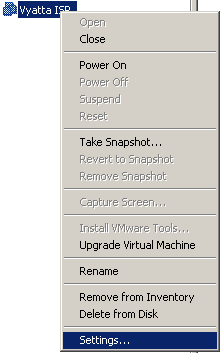
Figure48: Vyatta ISP VM Settings
From the Vyatta ISP's "VM Settings" click the "Add" button. See Figure49.
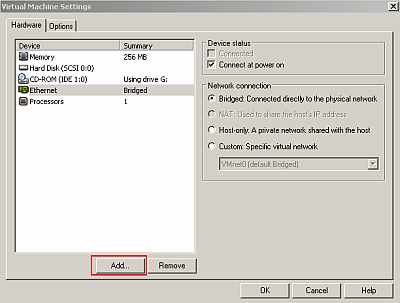
Figure49: Vyatta ISP VM Settings: Add Hardware
The "Add Hardware Wizard" appears. See Figure50. Click "Next".
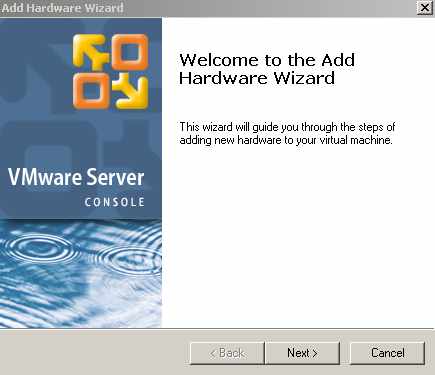
Figure50: Vyatta ISP VM: Add Hardware Wizard
Select "Ethernet Adapter" in the "Hardware Type" window. See Figure51. Click "Next".
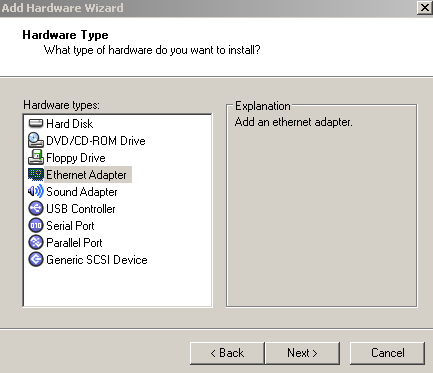
Figure51: Vyatta ISP VM: Add an ethernet adapter
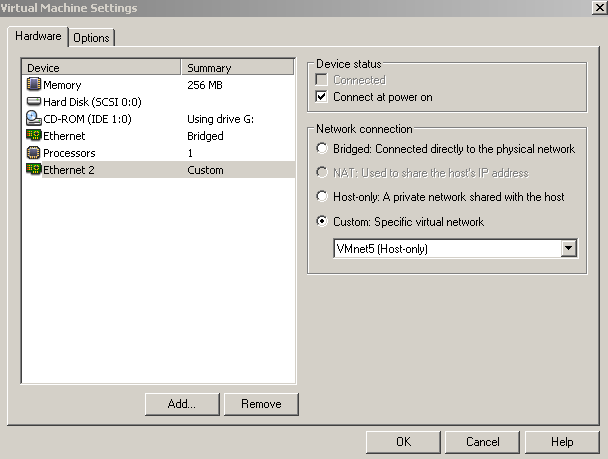
In the "Network Type" window choose "Custom: Specific virtual network " and select "VMnet5 (Host-only)". See Figure52. Click "Finish".
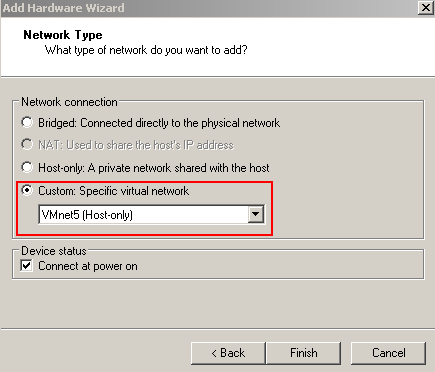
Figure52: Vyatta ISP VM: Custom Network Type
And now the Vyatta ISP "VM Settings" shows that it has two NICs. See Figure53. Click "OK" to close the "VM Settings" window.
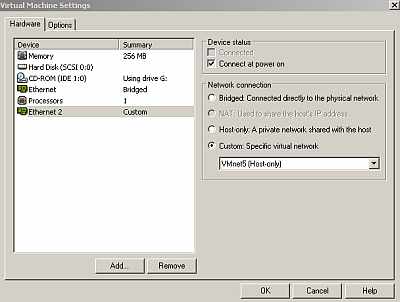
Figure53: Vyatta ISP VM New Settings
You can repeat the above steps for creating the remaining Vyatta VC4 VMs with the appropiate network settings or just copy and paste the VM you've just created, then edit this "new" VM's files/folder names, open it in VMware("File" and "Open") and edit its networking settings.
The Vyatta HQ "VM Settings" look like the one from Figure54.

Figure54: Vyatta HQ VM Settings
The Vyatta Branch1 "VM Settings" look like the one from Figure55.

Figure55: Vyatta Branch1 VM Settings
The Vyatta Branch2 "VM Settings" look like the one from Figure56.
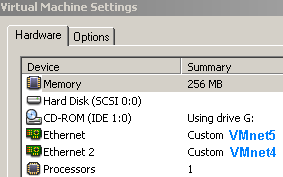
Figure56: Vyatta Branch2 VM Settings
In the end we will have four Vyatta VC4 VMs. See Figure57.

Figure57: Scenario 1 Vyatta VC4 VMs
In my lab I've booted each VM and installed Vyatta VC4 (persistent install) on them (ran the "install-system" command).
2. VMware Lab Scenario 2
Figure58 shows the NICs for every Vyatta VC4 VM from Scenario 2.
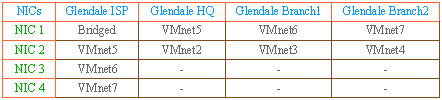
Figure58: Scenario 2 Vyatta VC4 VMs' NICs
In this case, to keep things separated, I've replaced Vyatta with Glendale for the name of each machine, so now Vyatta ISP becomes Glendale ISP, Vyatta HQ becomes Glendale HQ and so on.
Let's see the settings for each Vyatta VC4 VM from Scenario 2.
The Glendale ISP "VM Settings" look like the one from Figure59.
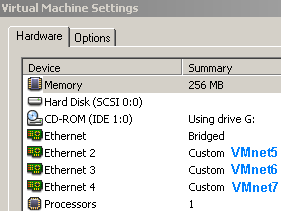
Figure59: Glendale ISP VM Settings
The Vyatta HQ "VM Settings" look like the one from Figure60 .
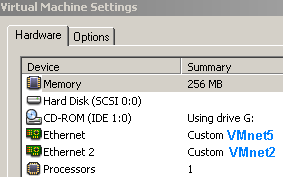
Figure60: Glendale HQ VM Settings
The Vyatta Branch1 "VM Settings" look like the one from Figure61.

Figure61: Glendale Branch1 VM Settings
The Vyatta Branch2 "VM Settings" look like the one from Figure62.

Figure62: Glendale Branch2 VM Settings
In the end we will have four Vyatta VC4 VMs. See Figure63.

Figure63: Scenario 2 Vyatta VC4 VMs
As in case of Scenario 1, in my lab I've booted each VM and installed Vyatta VC4 (persistent install) on them (ran the "install-system " command).
In Part 5 we will start configuring the Vyatta VC4 VMs.
|