|
18.07.2011
How to import a VMX virtual applliance into VMware Player
- 1. Introduction
- 2. Download the appliance
- 3. Import the virtual appliance into VMware Player
- 4. Power on the VM
1. Introduction
Now that we've successfully installed VMware Player is time to get our first virtual machine up and running.
The simplest way to achieve this is to use a virtual appliance.
A virtual appliance is a ready-to-use virtual machine image that includes an already installed and configured OS along with ready-to-run software applications. If it's a VMware appliance, the appropriate VMware Tools should be installed.
Such a virtual appliance can be a browser appliance which provides a secure, isolated environment in which to browse the Web.
For example this browser appliance, as writing, uses as guest OS Scientific Linux (6.0) and Firefox 5.0 as the browser application. Plus comes with VMware Tools installed.
2. Download the appliance
Go to the VMware Appliance Market Place and download the browser appliance.
Uncompress the downloaded file; was compressed using 7-Zip.
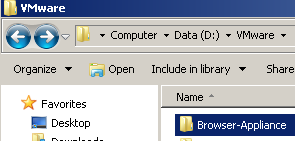
I uncompressed it into a folder where I keep the VMware Player virtual machines.
3. Import the virtual appliance into VMware Player.
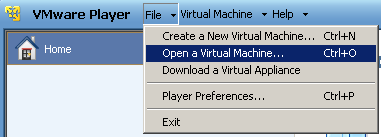
Launch VMware Player.
From the File menu click Open a Virtual Machine.
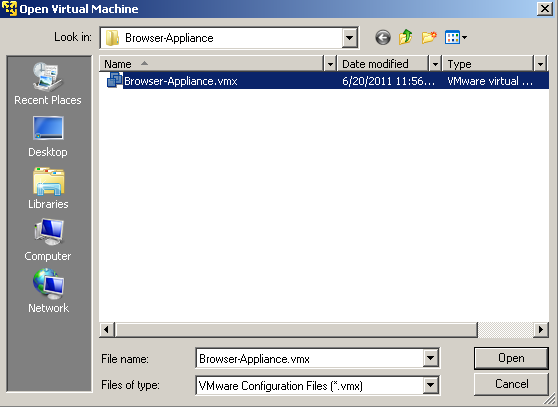
In the Open Virtual Machine window, browse to the VM's .vmx configuration file location(the folder where you uncompressed the browser appliance), select the file Browser-Appliance.vmx, and click Open.
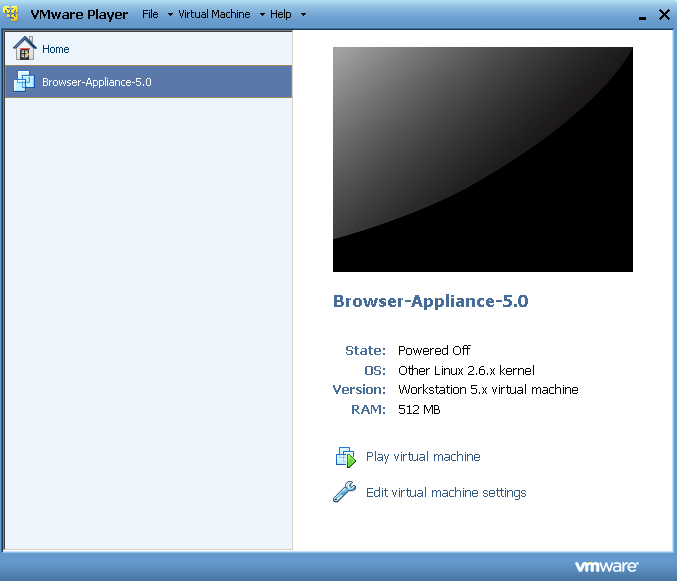
The browser appliance should be successfully imported in VMware Player.>
4. Power on the VM
Before we will power on it we should review its networking settings.
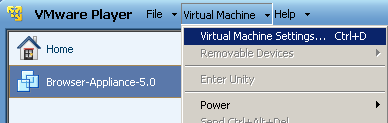
In VMware Player's console make sure the browser appliance VM is selected and from the Virtual Machine menu click Virtual Machine Settings.
Within the Virtual Machine Settings window, Hardware tab select Network Adapter.
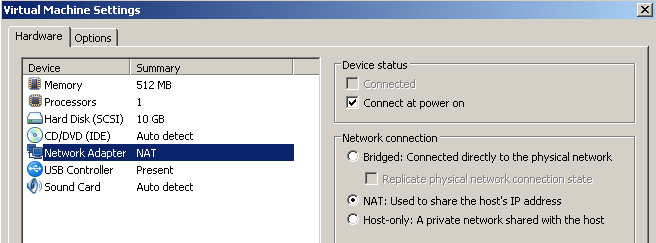
By default this is set to NAT. This means that the virtual machine will share the IP and MAC addresses of the host. Useful when your host is directly connected to the Internet and has a public IP address.
If you want the VM to have its own IP address in case you are on your local private LAN, select Bridged instead of NAT(for the VM to automatically obtain IP configuration you need a DHCP server on your LAN).
NAT should be fine for a start; close the Virtual Machine Settings window and power on the VM.
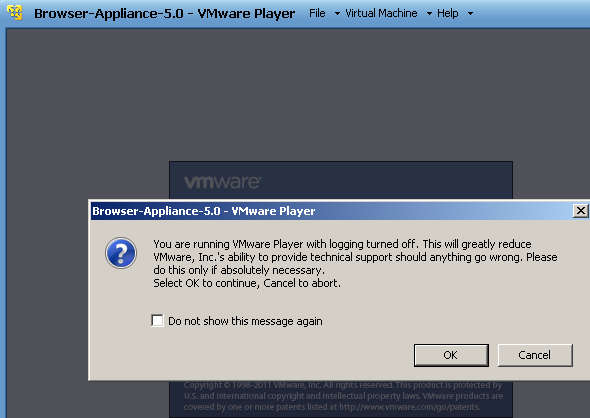
You might get a warning about running VMware Player with logging turned off. Click OK to close the warning(additionally select the checkbox to not see this message again).
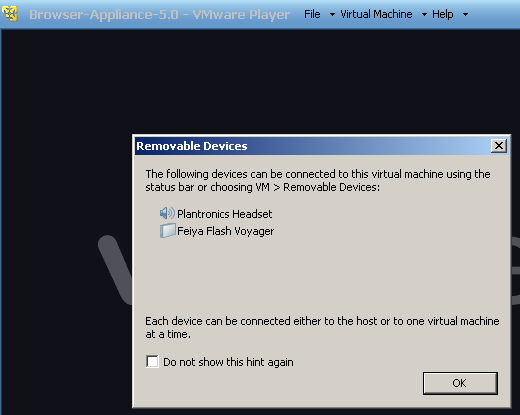
A hint might appear in case you have some hardware components that can be connected to the VM; below I have a headset and a USB drive. Click OK to close the hint(additionally select the checkbox to not see this message again).
The VM boots and loads the OS.
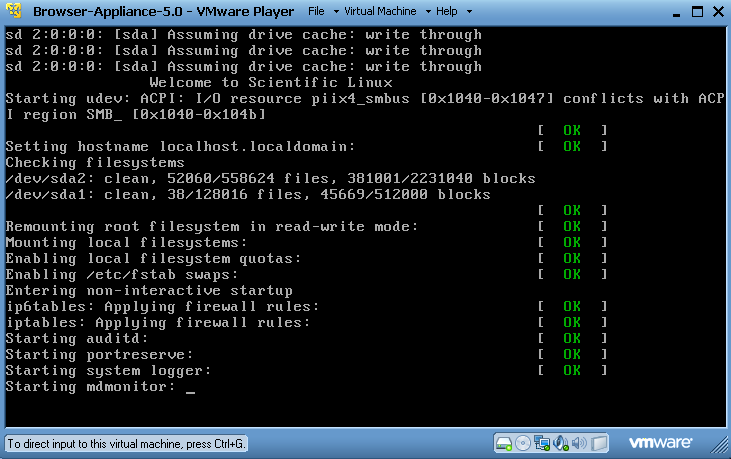
Once completed you will see the desktop and the Firefox browser will be opened automatically.

And you can start surfing the web.
Note: Flash Player is not installed, you need to install it.
|