|
15.06.2007
VPC 2004/2007 Networking Options
The most important topic here about Virtual PC is networking.
You can master very easy other stuff like installation of an OS, allocate memory, create a virtual drive and others. So let’s take a look. First of all you can see in the “Networking” settings of a VM that you can have a maximum number of 4 adapters. 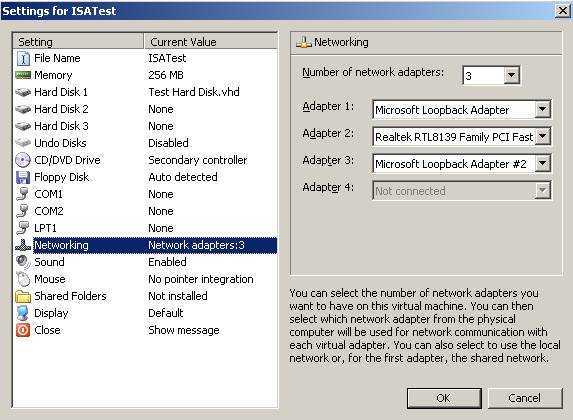
Figure1: VM Network Options
Above it has 3 network adapters set. There are different options for each adapter.
Now let’s take a closer look to all these option.
Not connected
As we can see with this option basically in the VM the network cable will apear as unplugged, so no connectivity. Very simple. 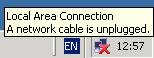
Figure2: Not Connected
This setting is intented for a VM which does not need a network connection for some sort of reasons.
Local Only
This setting provides LANs where all VM can communicate with each other but not with the host system, “the real machine” or with the Internet.
You can see settings in action by accessing some virtual labs from Microsoft: the Forefront Edge Security and Access Virtual Lab or some Virtual Labs with ISA 2006 with Virtual PC 2007.
Shared Networking
The “Shared Networking” option allows you to access some TCP/IP based resources on the host system (like your Internet connection). The first drawback can be spotted very easily: Virtual PC acts as a DHCP server and assigns a dynamic IP address to each virtual machine that uses shared networking from the 192.168.131.x range.
You are restricted to use only IP addresses from that particulary network. They are assign dinamically and you can’t interfere. Also with “Shared Networking” you can’t connect from another real computer to the VM or from the host to the VM. And there is no networking between virtual machines and inbound port mapping does not work. This setting can only be assigned to the first network adapter of the VM.
Network adapter on the physical computer
With “Network adapter on the physical computer” we are now talking business. Our VM configured with this setting uses an IP address from our physical network and will have full access at our network resources. This means it can access Internet, a DHCP server located on our LAN, files shared and many more. As said above if we have a DHCP server our VM can obtain its IP address and other network settings from that server. It’s like having a separate computer on our network. This setting can be used in many scenarios.
For an extended network topology and capabilities as Microsoft teaches us we should use Microsoft Loopback Adapter. To find out how you can install it you can scroll down here and find
how to install Microsoft loopback adapter.
We can add multiple Microsoft Loopback Adapters.
But looking at Virtual PC it is obviously that we only can use a maximum of four networks adapters for one VM. If we need conectivity to the physical network we should use at least one adapter as physical network adapter, so we have a limit of three loopback adapters for that machine .
We need a computer to act as a router in order to enable communication for the networks served by those loopback adapters. This means that it is directed connected to all four network. So if we want conectivity with our real network, one for the physical adapter and the others for the loopback adapters.
Each loopback adapter belongs to a specific network. You can’t use the same loopback adapter with IP addresses from different networks. So if you select as I said before a computer which acts as a router you can have a maximum number of 4 networks connected directly to that computer. I think that this is fair enough for your topology since you will probably enter some performance issues related to your hardware limits before you can add more networks. You can play in many waya with three networks. Obviously you can do more complex environments but this requires more skills and a lot of fire power from your computer.
You probably notice that Microsoft says that for Internet connectivity for a VM which utilises the Loopback adapter to use ICS(Internet Connection Sharing) on the host computer.
Personally I do not like ICS at all. We can simple set a VM which will act like a router. So all the “sharing” is done on a VM with routing set by you with any IP address and you don’t need to modify anything.
How to Install Microsoft Loopback Adapter (Windows XP)
Click “Start/Settings/Control Panel/Add Hardware”: 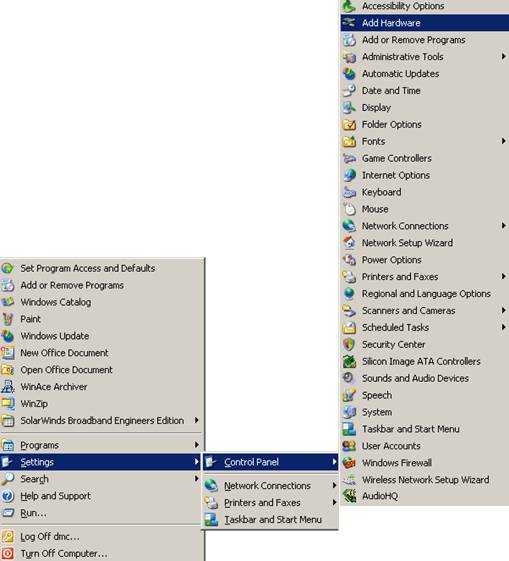
Figure3: Add Hardware
The following window appears: 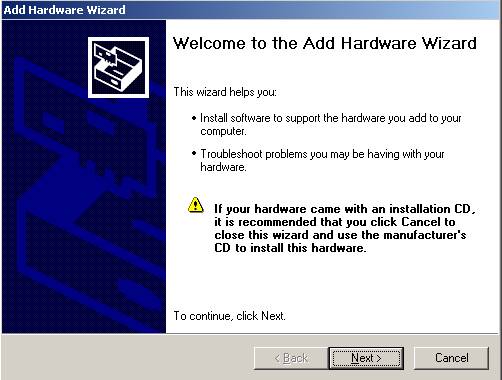
Figure4: Add Hardware Wizard
Click “Next” and choose as : 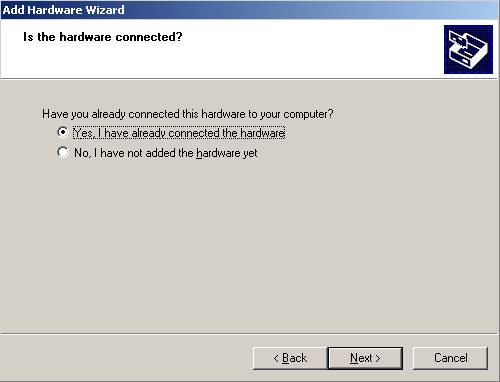
Figure5: Add Hardware Wizard Options
Now choose the “Advanced” option: 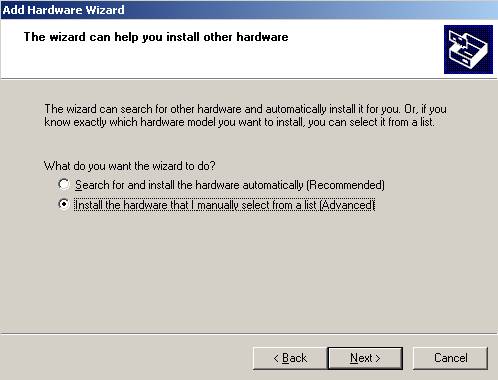
Figure6: Add Hardware Wizard: Advanced
Scroll down and find “Network adapters” and click “Next”: 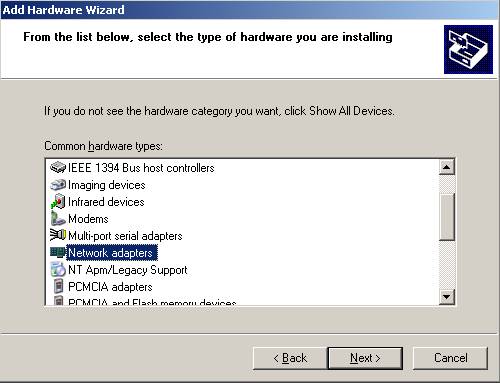
Figure7: Add Hardware Wizard: Choose Network Adapters
Click “Microsoft/Microsoft Loopback Adapter” and “Next”: 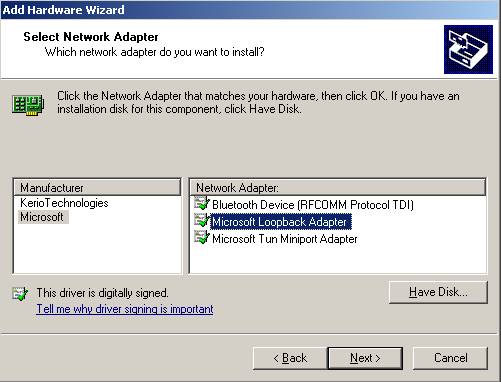
Figure8: Add Hardware Wizard: Select MS Loopback Adapter
Click “Next” to proceed: 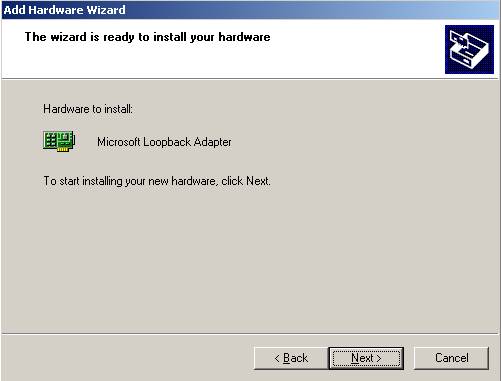
Figure9: Add Hardware Wizard: Click to Proceed
Now you are done: 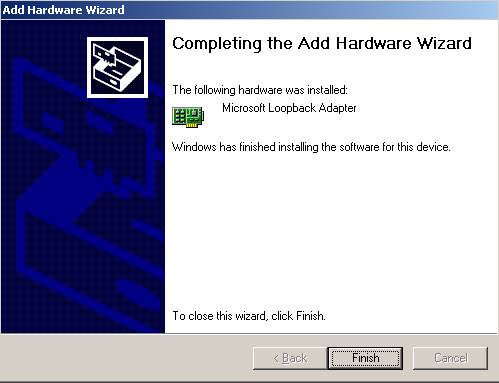
Figure10: Add Hardware Wizard: Finish
How to uninstall Microsoft Loopback Adapter
- locate “Device Manager”:
- “Right Click on My Computer/Manage”: 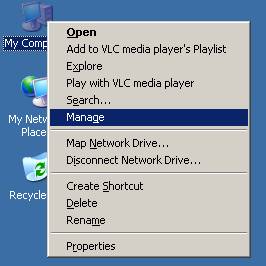
Figure11: Manage
- Next: “System Tools/Device Manager/Network adaters/Right click on the adapter you want to uninstall and choose Uninstall”: 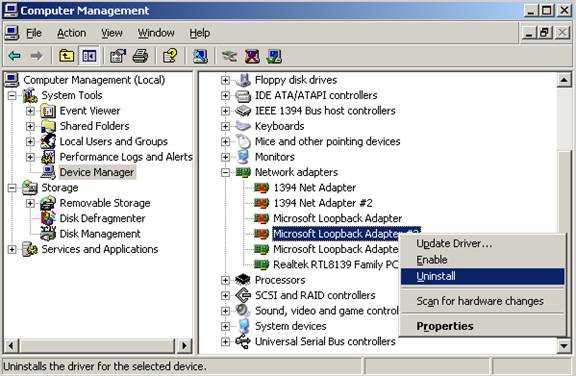
Figure12: Device Manager
- Confirm by clicking “OK’: 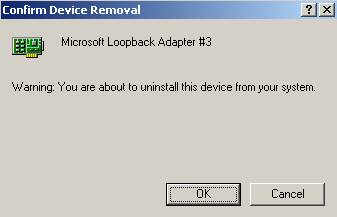
Figure13: Confirm Uninstall
The whole key is to understand how these virtual networks communicate with each other.
To examplify let’s consider the bellow diagram(the loopback adapters have only virtual machine network services enabled on them): 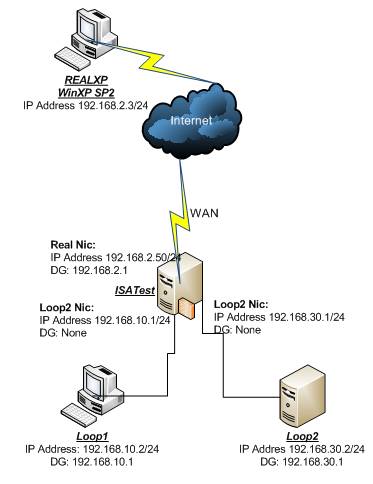
Figure14: Lab Diagram
If you use for a VM in VPC network settings your real network adapter and an IP from your real network you should have conectivity to ALL YOUR NETWORK(you can ping your router, access the Internet, ping other real computers, you should be able to get your settings from your DHCP server.
Now if you are using a loopback adapter, let's say Loopback1 for a host you should use a network address, say, from 192.168.10.0/24. The ideea is that if you use again this adapter for another VM you should an IP address from 192.168.10.0/24 because now all the host using the adapter are belonging to the same LAN. All VM using this adapter shoul be able to communicate between them with no problems.
If you mess things you will not be able to make them run as they should.
If you are using a loopback adapter, let's say Loopback2 for a host you should use a network address, say, from 192.168.30.0/24. The ideea is that if you use again this adapter for another VM you should an IP address from 192.168.30.0/24 because now all the host using the adapter are belonging to the same LAN.
If you want connectivity between 192.168.10.0/24 and 192.168.30.0/24 simply install a VM directly connected to this networks which will act like a router like in our above diagram(let’s call it ISATest).
If on this ISATest you also add the real adapter then you should be able to access Internet and network resources from your real LAN.
If you are using NAT from say 192.168.10.0/24 to real LAN then you do not require anything else. The LAN devices(including the router) will only see packets coming from the ISATest which will be sourced with its IP addresses belonging to the real LAN.
If you are simply routing between say 192.168.10.0/24 and the real LAN the host’s on the real LAN will see packets coming from 192.168.10.0/24. Thus they must have a route to this network(they can access it through the ISATest IP address from the real LAN) or the LAN router should be configured to a route to this network because the real LAN devices have set as their DG it’s IP address. If this router support ICMP redirects it can be configured to inform the hosts about the route to network the 192.168.10.0/24. Let’s install Windows 2003 R2 on ISATest and use these settings for our VMs:
ISATest: Intern (Loop1): 192.168.10.1 DG : None
Extern (Real): 192.168.2.50, DG: 192.168.2.1
DMZ (Loop2): 192.168.30.1 DG : None
Loop1: Loop1: 192.168.10.2 DG: 192.168.10.1
Loop2: Loop2: 192.168.30.2 DG: 192.168.30.1
You shoud be able to ping from Loop1 to: 192.168.10.1, 192.168.2.50, 192.168.30.1. The rest will fail.
From ISATest ping works to: 192.168.10.2, 192.168.30.2, 192.168.2.1. Everything.
From Loop2 works to: 192.168.10.1, 192.168.30.1, 192.168.2.50. The rest will fail.
The ISATest is like a router, so if you want to see that you can ping from let's say from 192.168.30.2 to 192.168.10.2 you should enable routing on ISATest. How ? From Administrative tools/Routing and Remote Access. Right click on ISATest which is red and Enable.../Custom../Lan Routing. 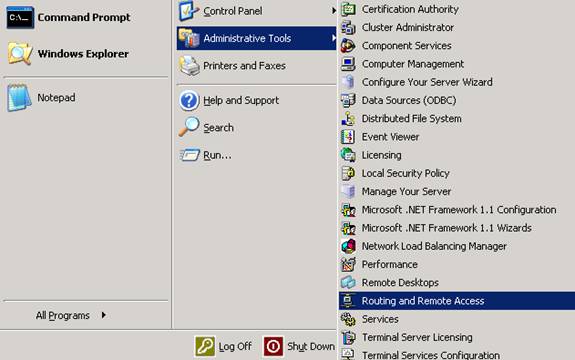
Figure15: RRAS
Right-click on ISATest and then click “Configure and Enable Routin and Remote Access”: 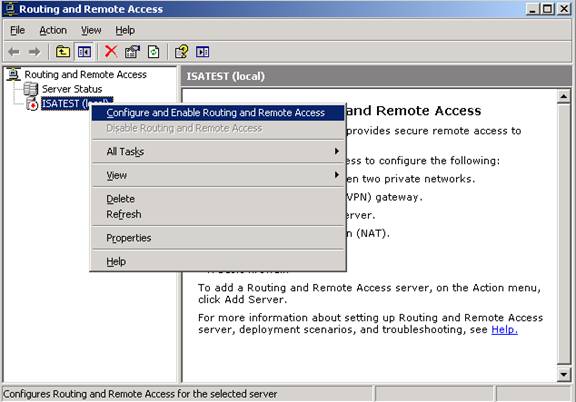
Figure16: Configure RRAS
Figure17: RRAS Setup Wizard
Check custom configuration: 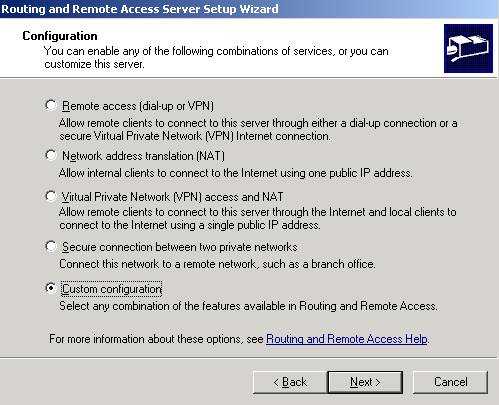
Figure18: RRAS Setup Wizard Custom Config
Select LAN routing: 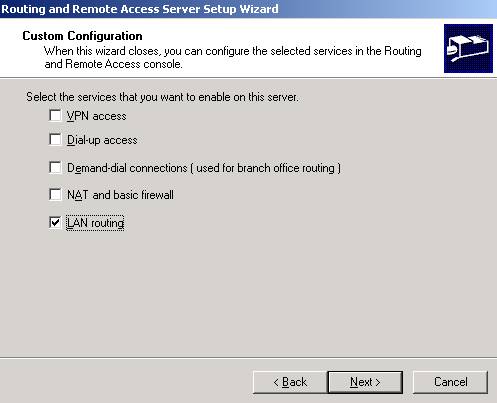
Figure19: RRAS Setup Wizard: Lan Routing
Finish: 
Figure20: RRAS Setup Wizard: Finish
Start the service: 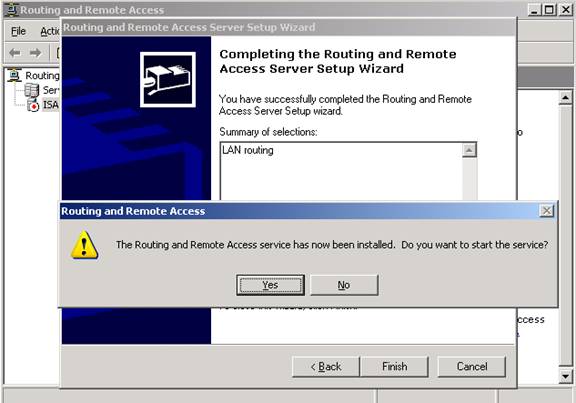
Figure21: RRAS Start

Figure22: RRAS Starting

Figure23: RRAS Initialization
Now ISATest turns green: 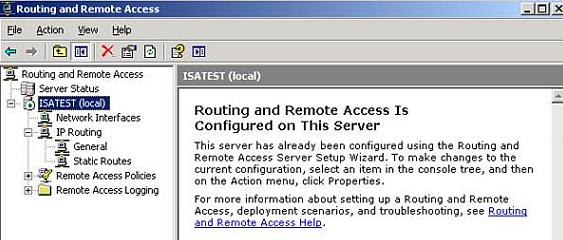
Figure24: RRAS Up and Running
You can ping now from Loop1 to Loop2 and vice-versa. Attention! You will not be able to ping 192.168.2.1 from Loop1 or from Loop2 or vice-versa.
In order to do that you can create routes on the external(real network for 192.168.10.0/24 and 192.168.30.0/24. This is due to the fact that your real network doesn’t know about the other networks.
The Loop1 or Loop2 have no problem going to 192.168.2.0/24 because their default gateway is 192.168.30.1 or 192.168.10.1 respectively and this DG belongs to our router. But 192.168.2.1 or 192.168.2.3 don’t know that networks 192.168.10.0/24 and 192.168.30.0/24 are accesible from through our router at IP address 192.168.2.50. So if you add the following static routes on the 192.168.2.3 (you can use –p if you want to make a route persistent):
route ADD 192.168.10.0 MASK 255.255.255.0 192.168.2.50
route ADD 192.168.30.0 MASK 255.255.255.0 192.168.2.50

Figure25: Route Add 1

Figure26: Route Add 2
You should be able to ping from 192.168.2.3 to 192.168.30.2, to 192.168.10.2 and vice-versa.
You can also ping from 192.168.2.0/24 to 192.168.2.50.
Another solution for this can be, if your router 192.168.2.1 supports ICMP redirects(since 192.168.2.3 has set as DG 192.168.2.1), to add to its routing table the correct path to reach 192.168.30.0/24 and 192.168.10.0/24.
If we want to mask networks 192.168.30.0/24 and 192.168.10.0/24 we can use on ISATest RRAS Nat instead of route and the problem with the routes needed will also disappear because now the real LAN will not be aware of networks 192.168.30.0/24 and 192.168.10.0/24.
Or if you want to access the Internet and the real LAN you can enable NAT from RRAS like above for Lan Routing but instead opt for NAT not for Custom Config: 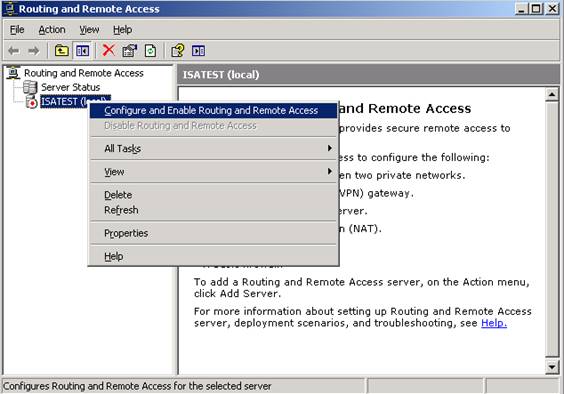
Figure27: Configure RRAS
Select NAT: 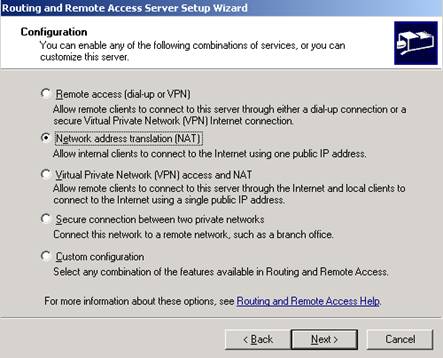
Figure28: RRAS Wizard NAT
Choose Extern as public interface and uncheck “Enable security on selected interface by setting up Basic Firewall” because you don't need this now: 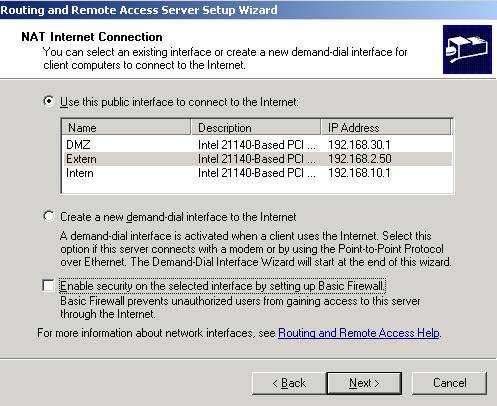
Figure29: RRAS Extern Interface
Next select let's say Intern(you can add later any interface you want). 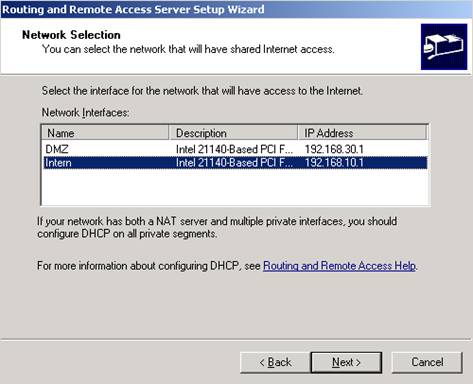
Figure30: RRAS Intern Interface for Internet Access
Check I will setup name and address services later. 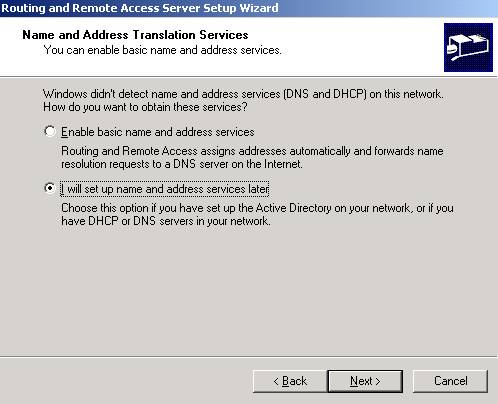
Figure31: RRAS DNS and DHCP setting
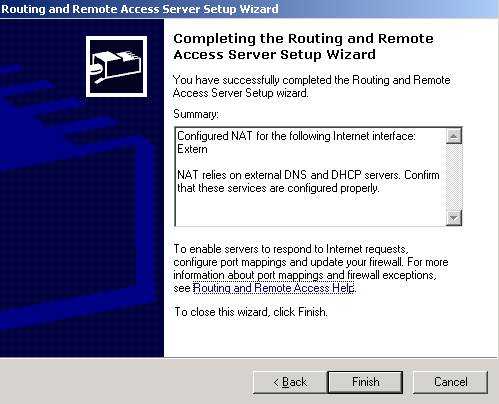
Figure32: RRAS Finish
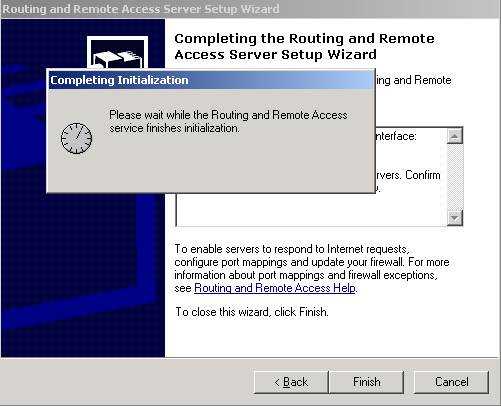
Figure33: RRAS Initialization
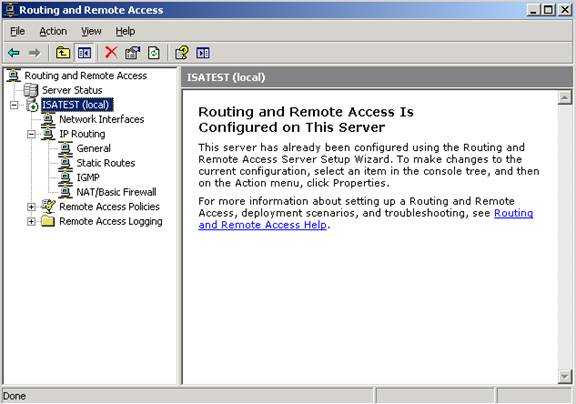
Figure34: RRAS Up and Running
Now you should ping everything but not from 192.168.2.3(or 192.178.22.0./24) to 192.168.10.0/24 and 192.168.30.0/24 since these networks are hidden(by NAT). But you can ping any host comprised in 192.168.2.0/24 from 192.168.10.0/24 and 192.168.30.0/24 since the NAT created is unidirectional(addresses are NATed from 192.168.10.0/24 and 192.168.30.0/24 to 192.168.2.0/24 but not from 192.168.2.0/24 to 192.168.10.0/24 and 192.168.30.0/24).
What you can ping from 192.168.2.0/24 is 192.168.2.50.
If not check in NAT/Basic Firewall on Extern if you are allowing ICMP(if you have enabled the Basic Firewall).
So remember that I said before that for Loopback1 and Loopback2 only virtual machine network services are enabled?
Well now go to these adapters and enable Client for Microsoft Networks, File and Printer Sharing, Internet Protocol and put some IP addresses there like:
Loopback1: 192.168.10.10 255.255.255.0
Loopback2: 192.168.30.30 255.255.255.0.
Note: You don’t need to do this on your ISA lab, here is just to see what’s hapenning when we do so.
If you didn't enable RRAS you can ping from 192.168.10.0/24 to 192.168.10.10 and from 192.168.30.0/24 to 192.168.30.30.
From real host you should be able to ping every VM. The rest remains unchanged.
If you enable RRAS Lan Routing things are looking exactly the same like without any IP addresses on loopback adapters except that you can ping 192.168.2.3 from any VM.
With RRAS NAT everything remains unchanged like without any IP addresses on loopback adapters.
So with these changes our real host becomes directly connected to our VMs.
Pay atention to “NAT/Basic Firewall/Click on Extern/Properties/ICMP Tab” and see if you are allowing ICMP. 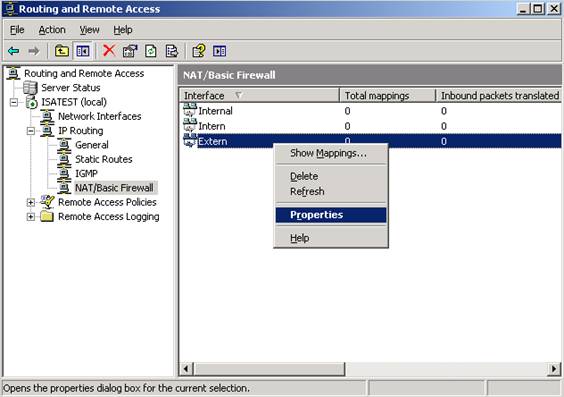
Figure35: RRAS Extern Interface Properties
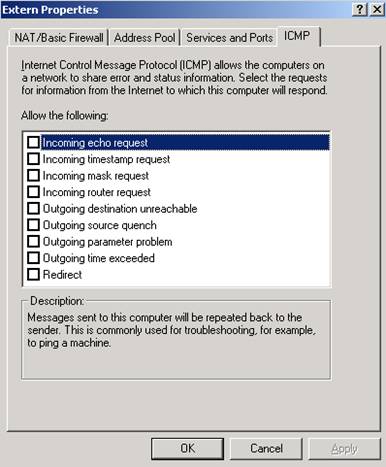
Figure36: RRAS Extern Interface Properties ICMP Options
For a more in depth analyze of traffic use a traffic analyzer program(like Wireshark).
|